From Ancestry.com's FamilyHistoryCircle 24/7 - Quick Tip from March 24th, 2008
by Diane Harman-Hoog Labeling Electronic Images http://blogs.ancestry.com/circle/?p=2377&o_iid=23560&o_lid=23560
"When scanning in old family photos to share with the family, I add the information, such as name, place, and date, to the border of the print. I use an image editing program to do this. If the photo does not have a border, I create one. If a person wants to print the photo and does not want the information it is easy to crop off, but by keeping the label, the photo and identification will not be separated."

So I gave it a try:
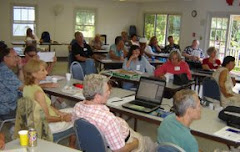
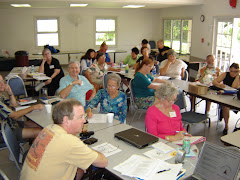
After some anguish, I've been able to make an annotation at the bottom of a photo, with the software "Paint.net" A free downloadable software at http://www.getpaint.net/ I opened a copy of a photo into the software then went to "Image" then "Canvas Size" then fiddled around with the sizing of the canvas. Easiest, I guess, is to increase the "Print Size" (of the canvas) by clicking on the up arrow for height and the up arrow for width. This makes a white border around the picture. Then I went to "Tools" and selected the Text tool "A" and clicked onto the bottom border of the photo. Add the text. The text can be moved around by clicking and dragging the "nub" that appears. I haven't perfected the text, but it can be increased in size, etc. Save the new creation. Here is the photo - my first- that I used the border and text to annotate the photo. To make it better, I'd increase the text size more, next time. -Donna


No comments:
Post a Comment